What is Illustrator?
Adobe Illustrator is a computer program used by engineers, artists and creative professionals to create vector images. These images are used in a wide variety of ways, such as logos, vinyls, or even to laser cut something. Inventor also allows raster images to be converted into vector images.
Raster versus Vector
Raster images are made up of colored pixels whereas vector images are made of many shapes over each other. The shapes are made of anchor points so when vector images are resized, they do not become distorted like raster images.
How to use the laser
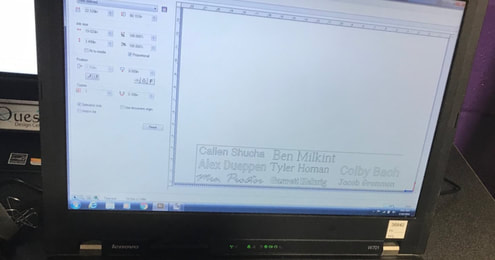
Step One: Prepare your illustrator file for the laser. To do this, select the print icon in illustrator and select your laser cutter as the printer.
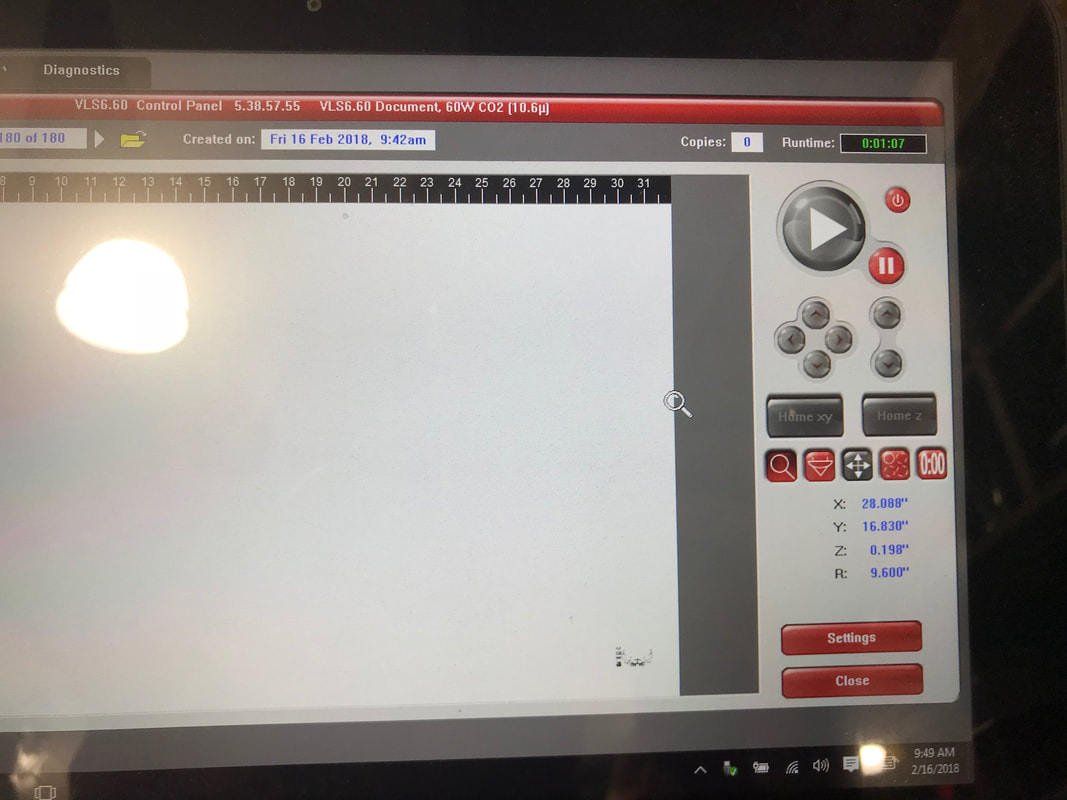
Step Two: Open your laser cutting software, your file should be automatically opened.
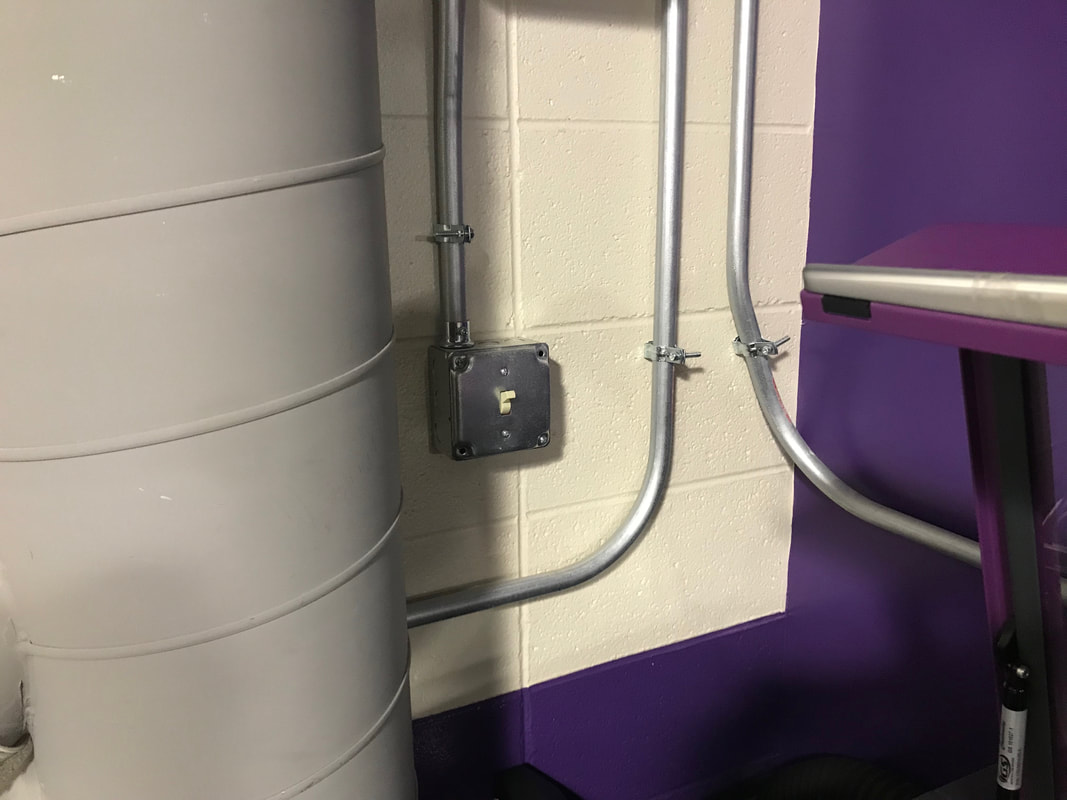
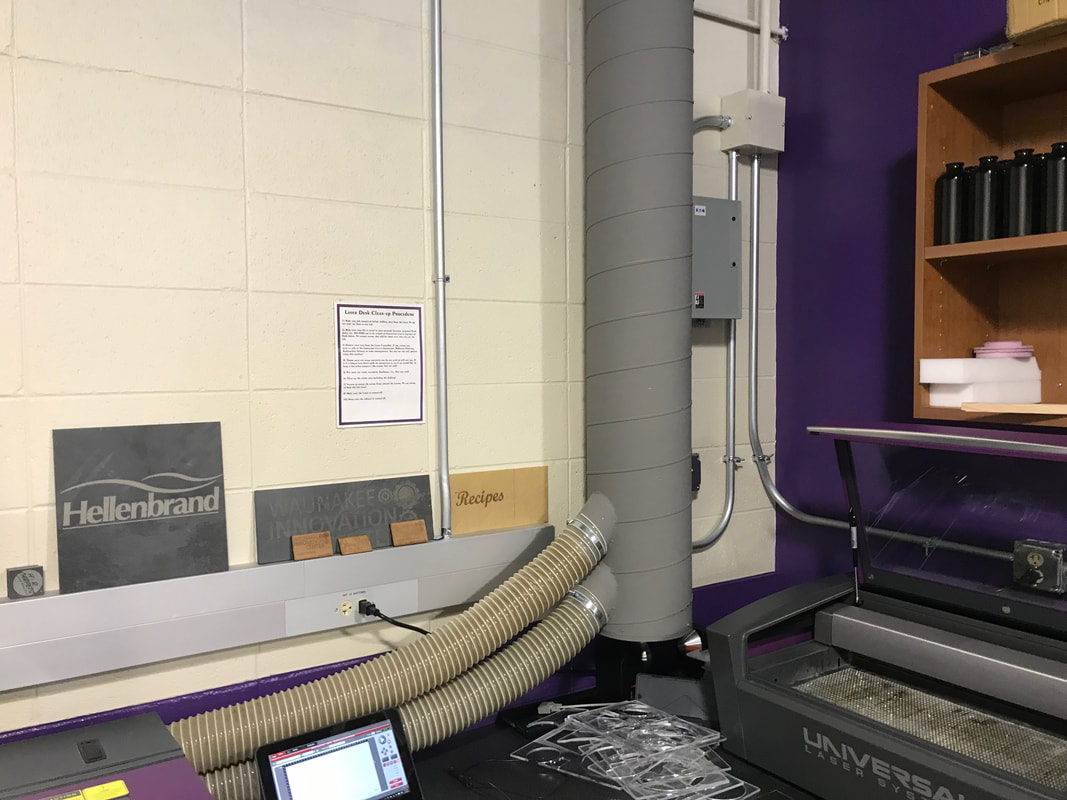
Step Three: Turn on the laser, and the exhaust. The exhaust switch is on the wall near the laser, if the exhaust is not on then the laser can be seriously damaged.
Step Four: Measure the thickness of the plastic you are using, this value will be entered into the program.
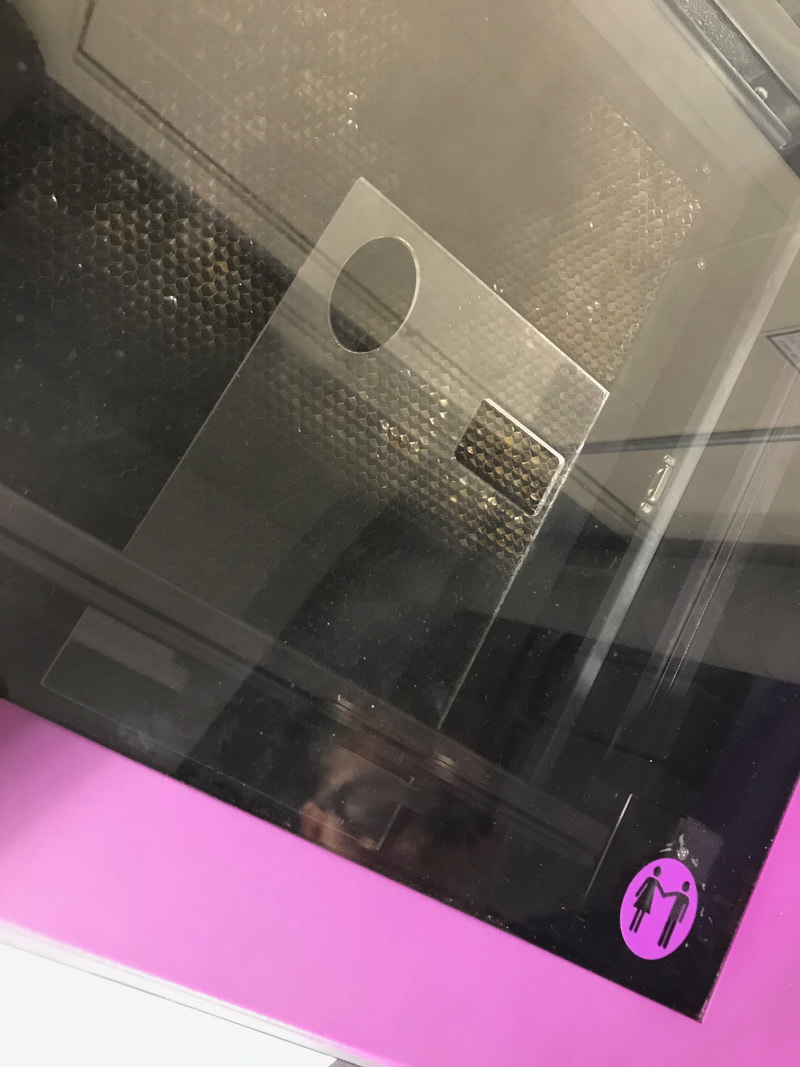
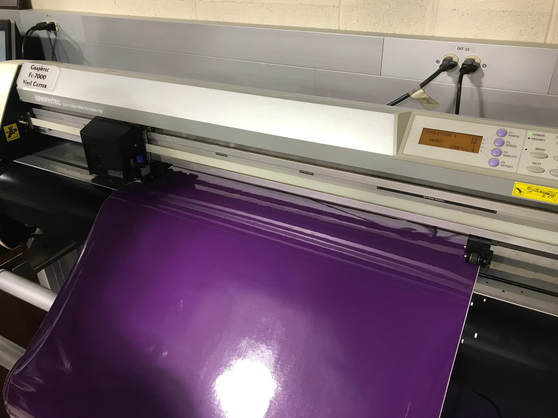
Step Five: Put the Plastic into the laser, and line it up with an edge.
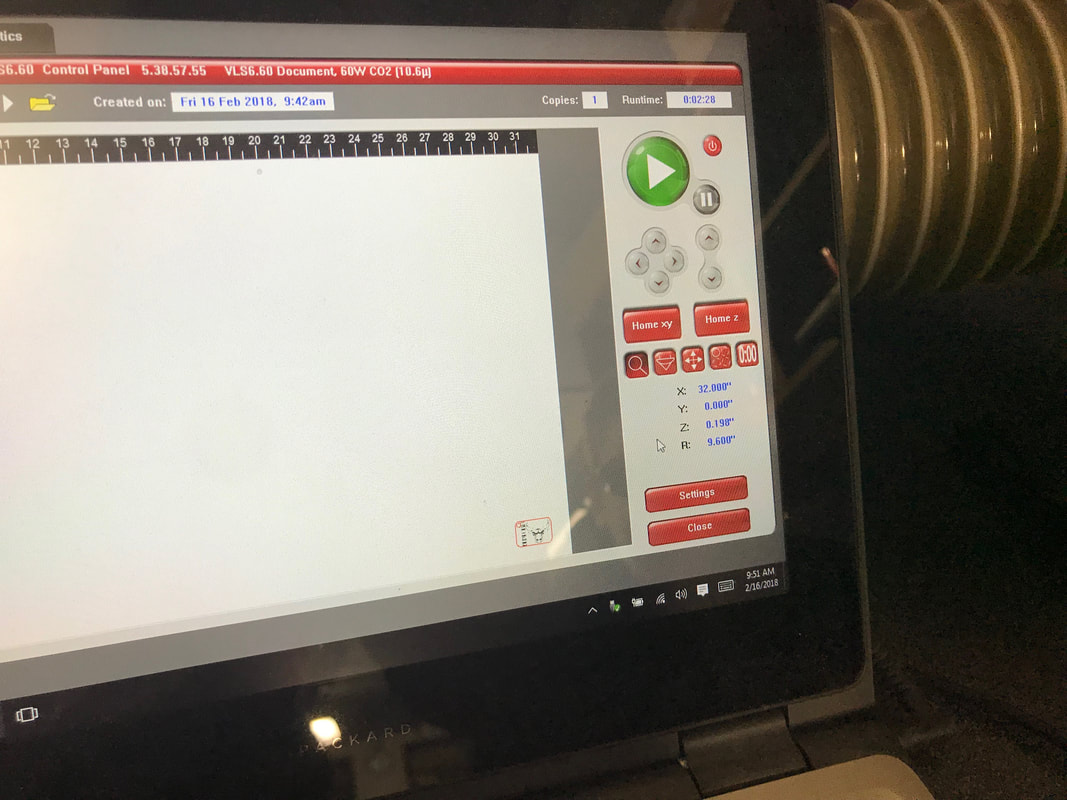
Step Six: Use the focus tool to move the laser onto the material in the program.
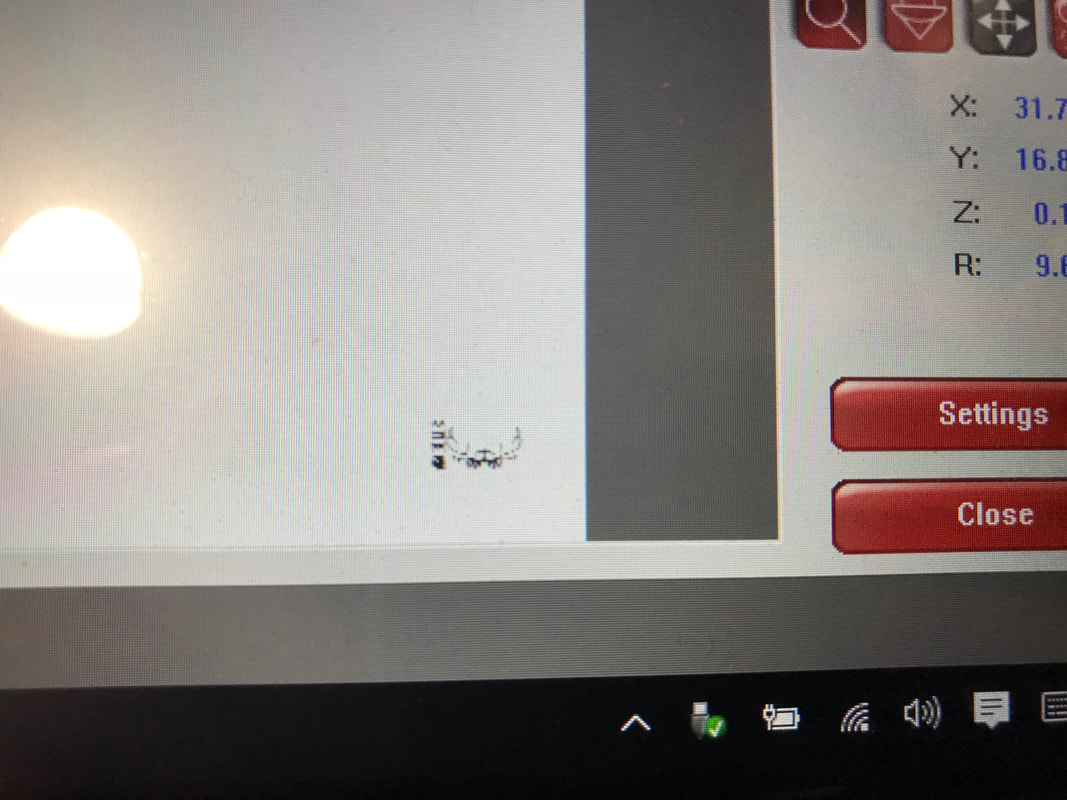
Step Seven: Use the relocation tool to move your design onto the place where you placed the laser.
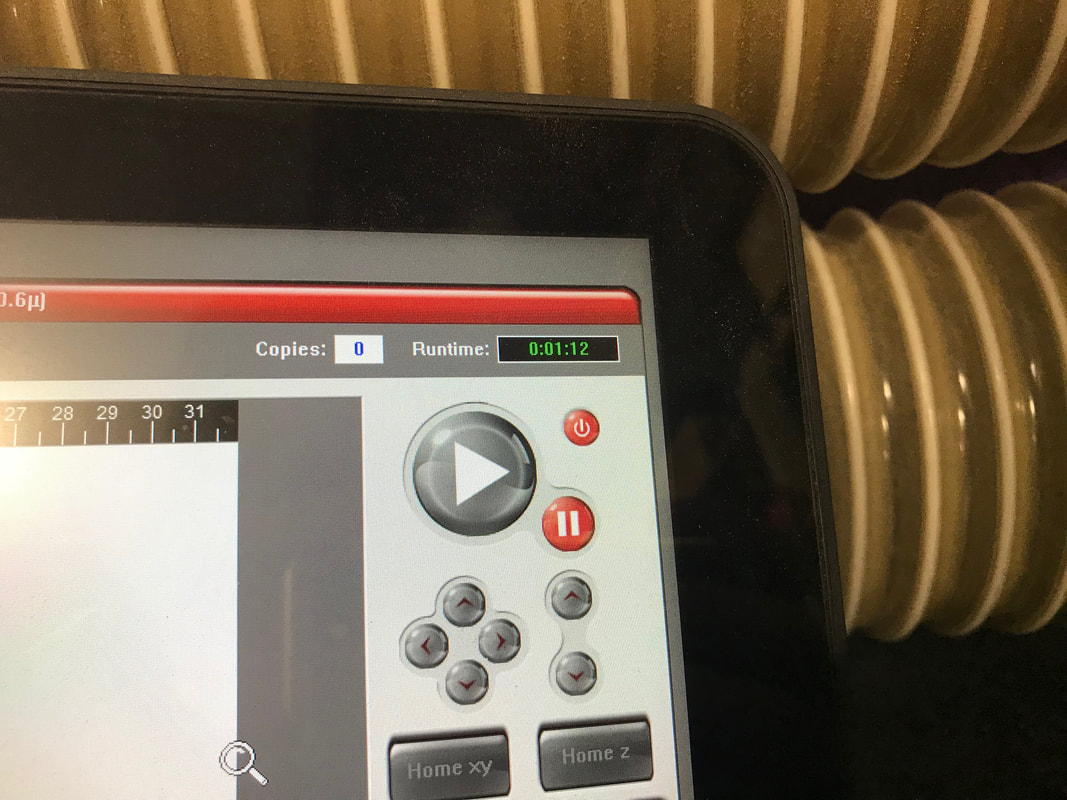
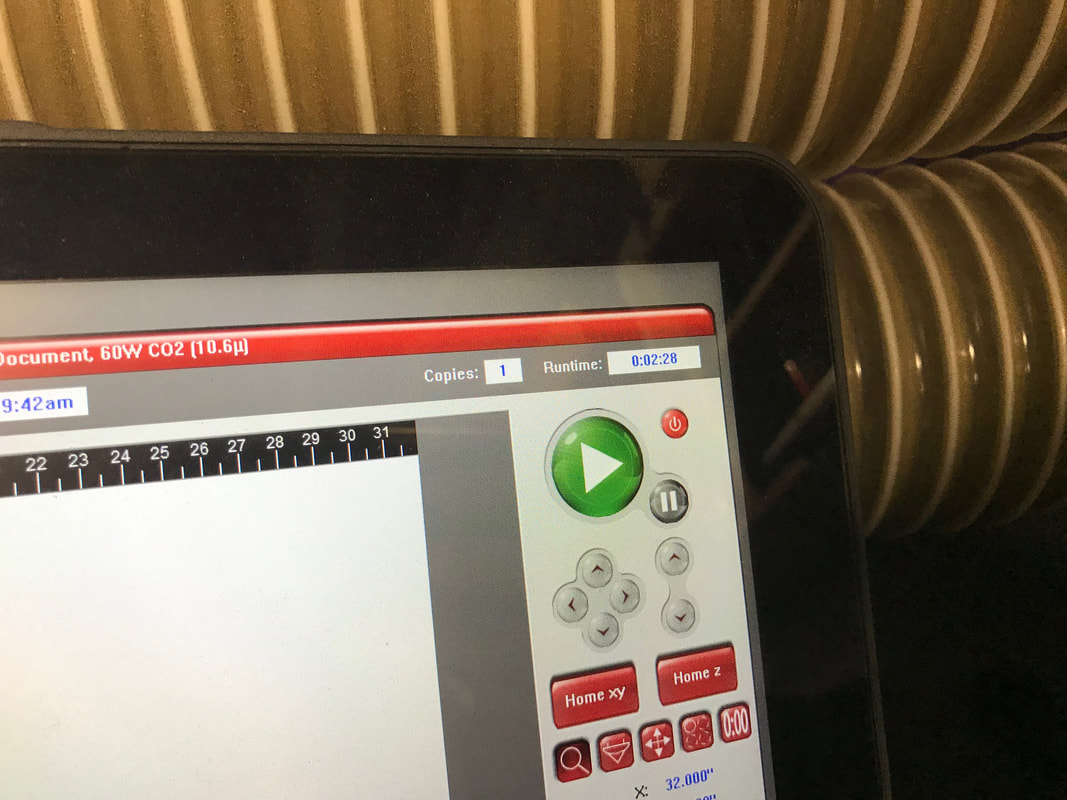
Step Eight: Check that your whole design fits, and hit the large green play button.
Step Two: Open your laser cutting software, your file should be automatically opened.
Step Three: Turn on the laser, and the exhaust. The exhaust switch is on the wall near the laser, if the exhaust is not on then the laser can be seriously damaged.
Step Four: Measure the thickness of the plastic you are using, this value will be entered into the program.
Step Five: Put the Plastic into the laser, and line it up with an edge.
Step Six: Use the focus tool to move the laser onto the material in the program.
Step Seven: Use the relocation tool to move your design onto the place where you placed the laser.
Step Eight: Check that your whole design fits, and hit the large green play button.
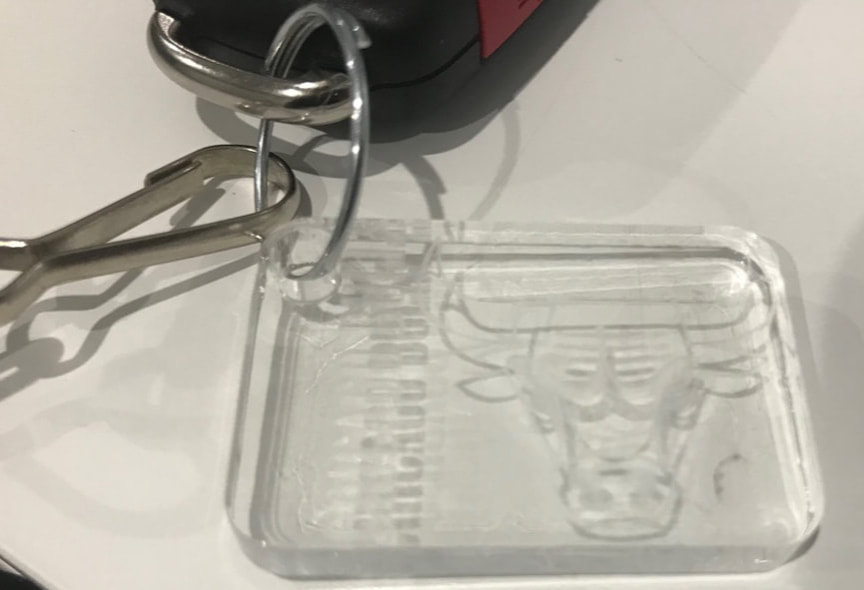
Final Keychain:
How to apply vinyl decals
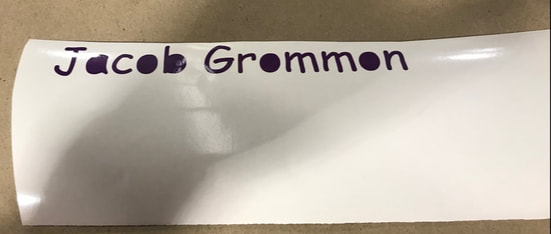
Vinyl decal file used:
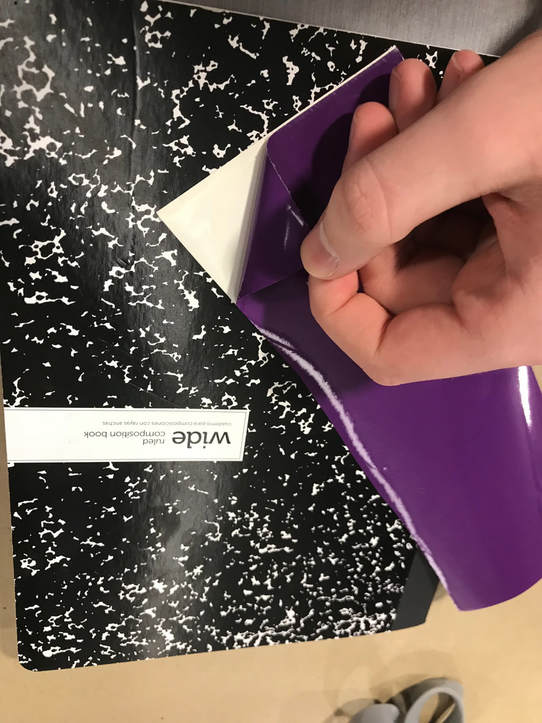
Step 1: Cut your smaller vinyl piece away from the sheet, it makes following step easier and if multiple people have designs on the same sheet, it is much quicker than doing it one by one.
Step 2: Peel the excess vinyl away from your decal, some letters and shapes may have extra pieces in between that are not connected to the bulk, simply peel these pieces away with a dental tool
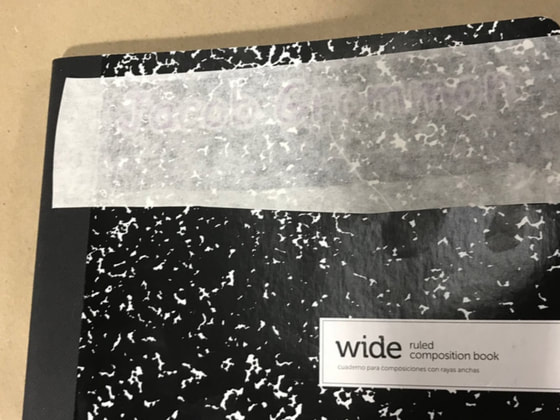
Step 3: Apply the transfer tape to the decal, and to insure a good application, use a tool to press any bubbles out. Then press the transfer tape to the surface you are applying the vinyl to, and press bubbles out again.
Step 4: Carefully peel back the tape, leaving only the vinyl decal left. If an piece of the decal gets stuck to the surface, use the dental tool to peel it off the transfer tape.
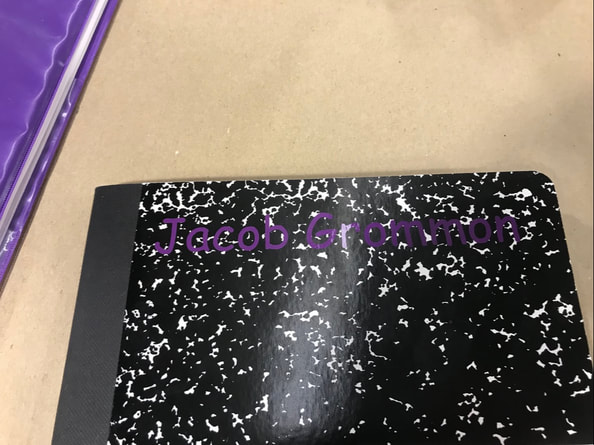
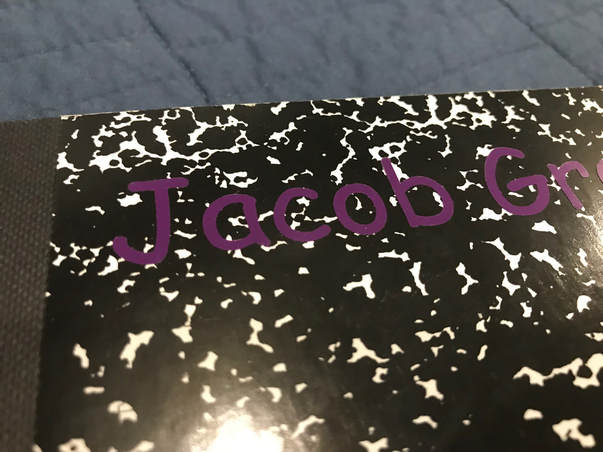
Final Vinyl:
What I've learned from these projects
From these 2 projects I've learned how to use Adobe Illustrator, and how to print using different machines. Illustrator was a new software for me, and so learning even the basics was good. I also learned how to make the laser cut without damaging it, and how to place the laser over the material. I had a bit of trouble with the laser not cutting all the way through the plastic, but this was solved by reopening the program. I couldn't take screenshots because the program would crash when I tried to open the snipping tool.
