Beginning the Process
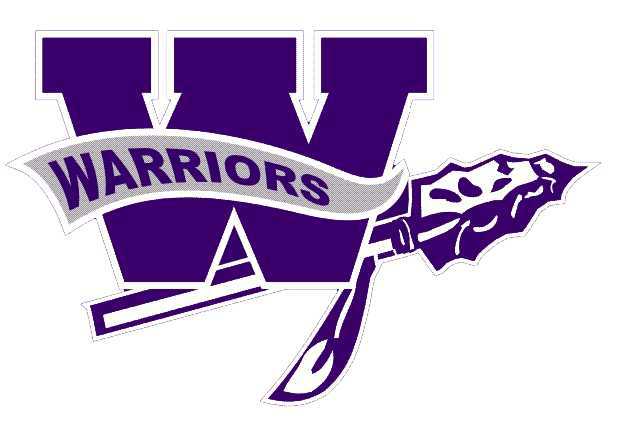
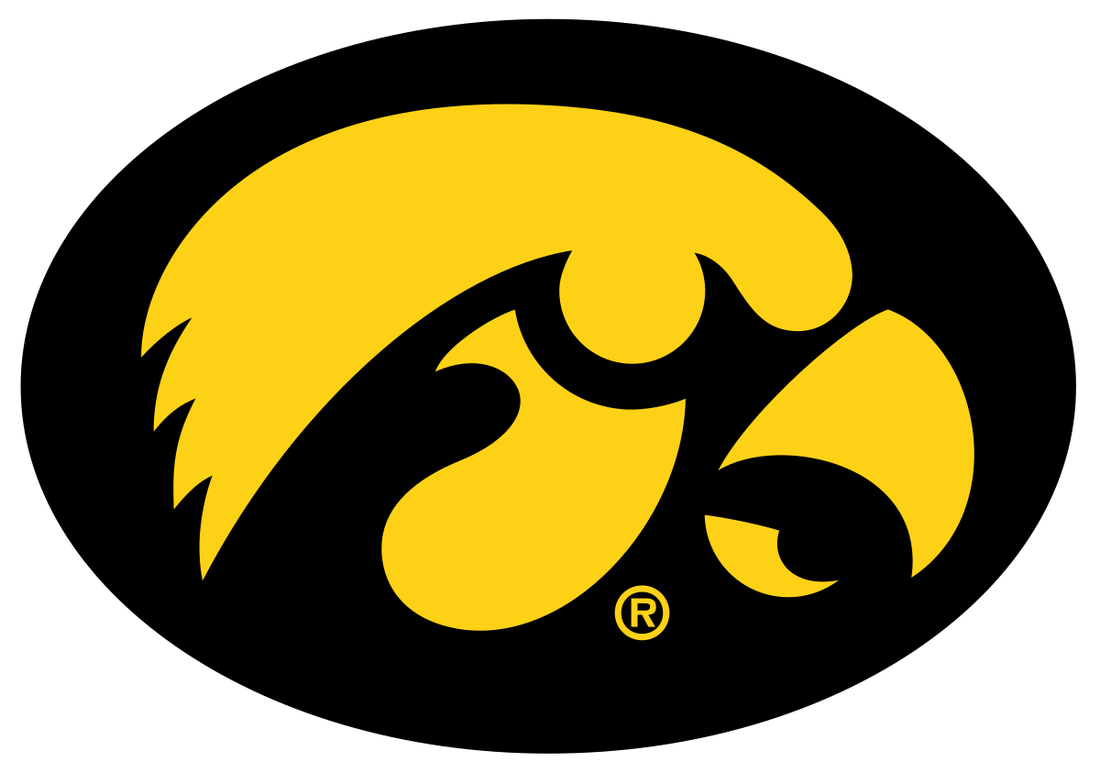
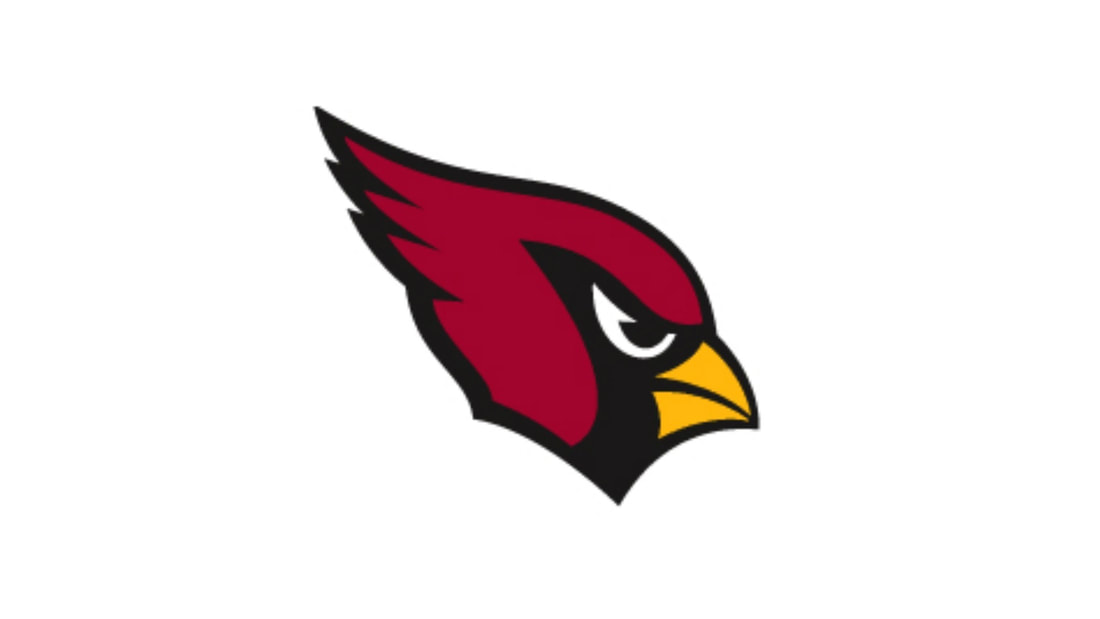
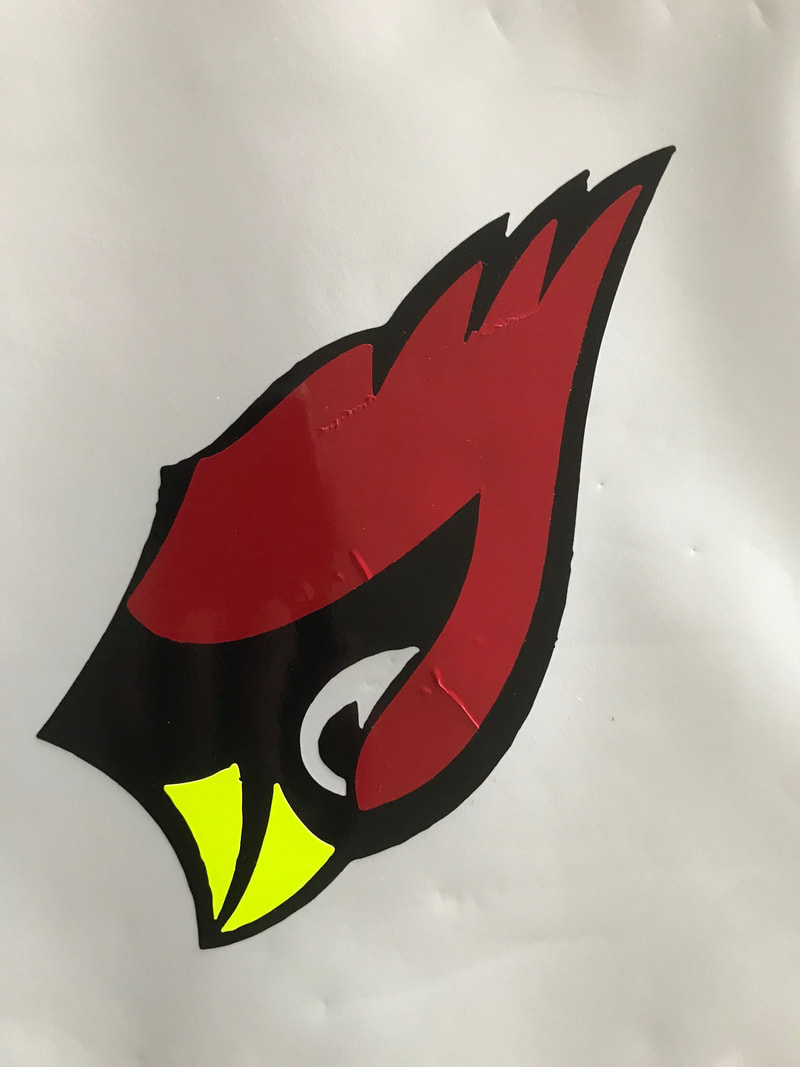
To begin the process, I began brain storming different vinyl designs, most of them logos of favorite sports teams or school spirit type logos. I decided to start with a Waunakee Warriors logo, and began modeling it. I was about halfway through the design process before realizing that the decal had to be something creative and different. I was back to the drawing board and thought about something that nobody else would do. I eventually settled on my favorite college team, the Iowa Hawkeyes, since almost everyone in the area is a Badgers fan. I was excited to do this until I realized the Iowa logo is only 1 or 2 colors, and wouldn't work. By this point we were almost 2 days into the rotation and I needed to pick something, so I went with my favorite pro team, the Arizona Cardinals. The logo had 3 colors when the white was taken out. I didn't need white because I was either putting the logo on my white binder or white car.
Modeling and Applying the Decal
I modeled the decal in the 35 minutes I had remaining after picking the logo, I needed some teacher help removing the colored parts individually but it was easy after being taught. I Got the 3 parts separated so the decal would turn out clean.
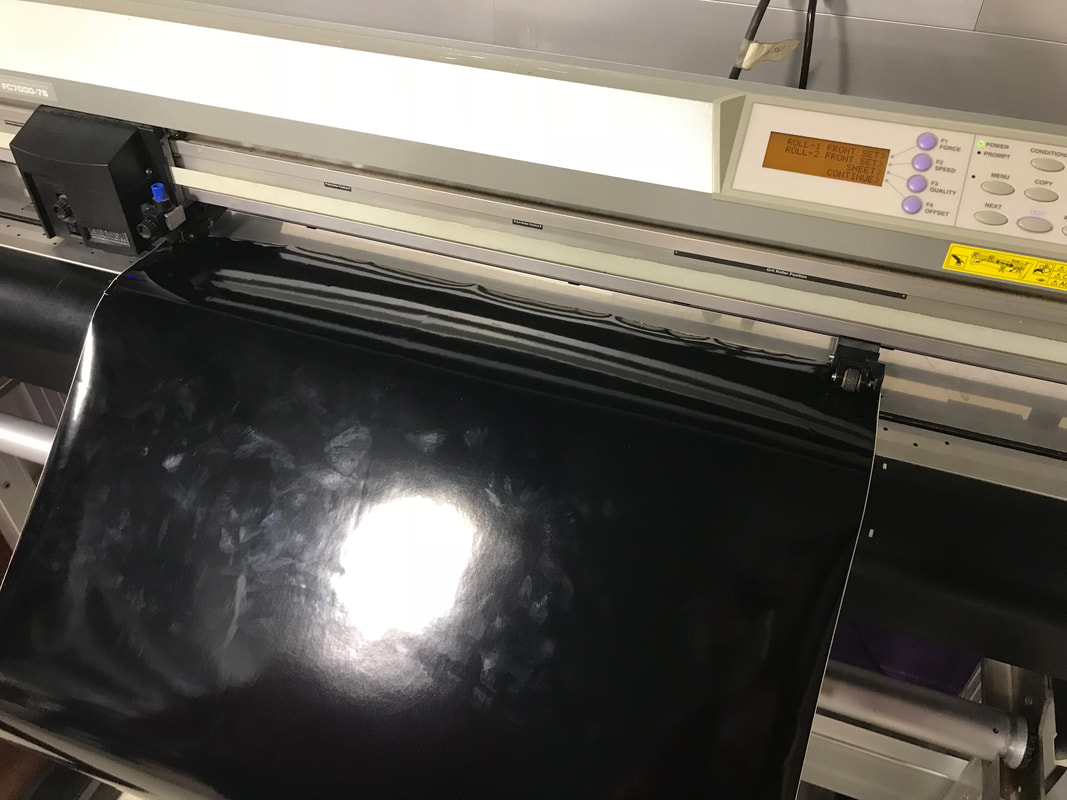
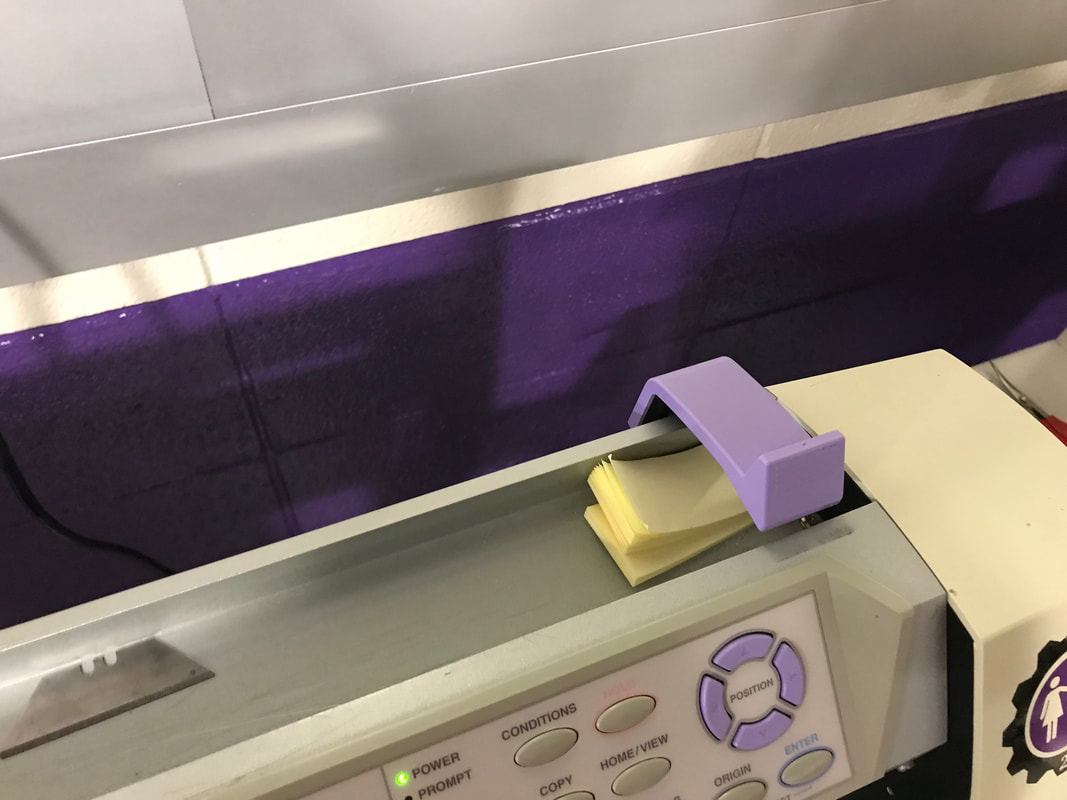
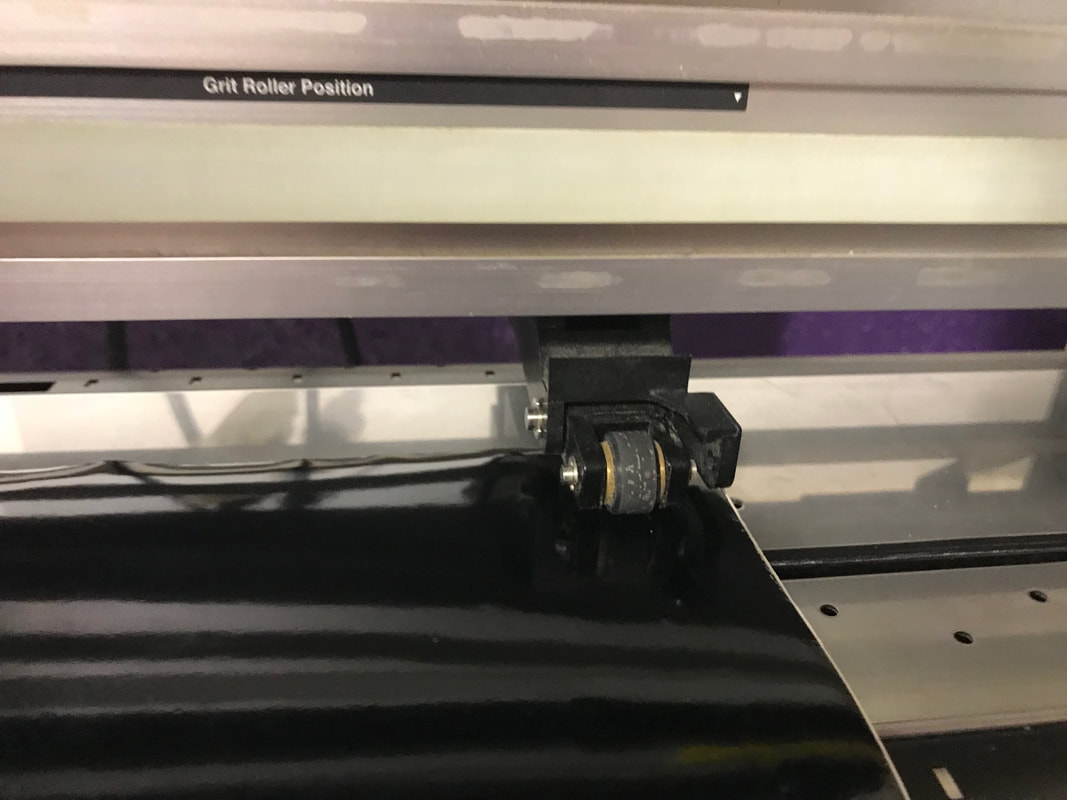
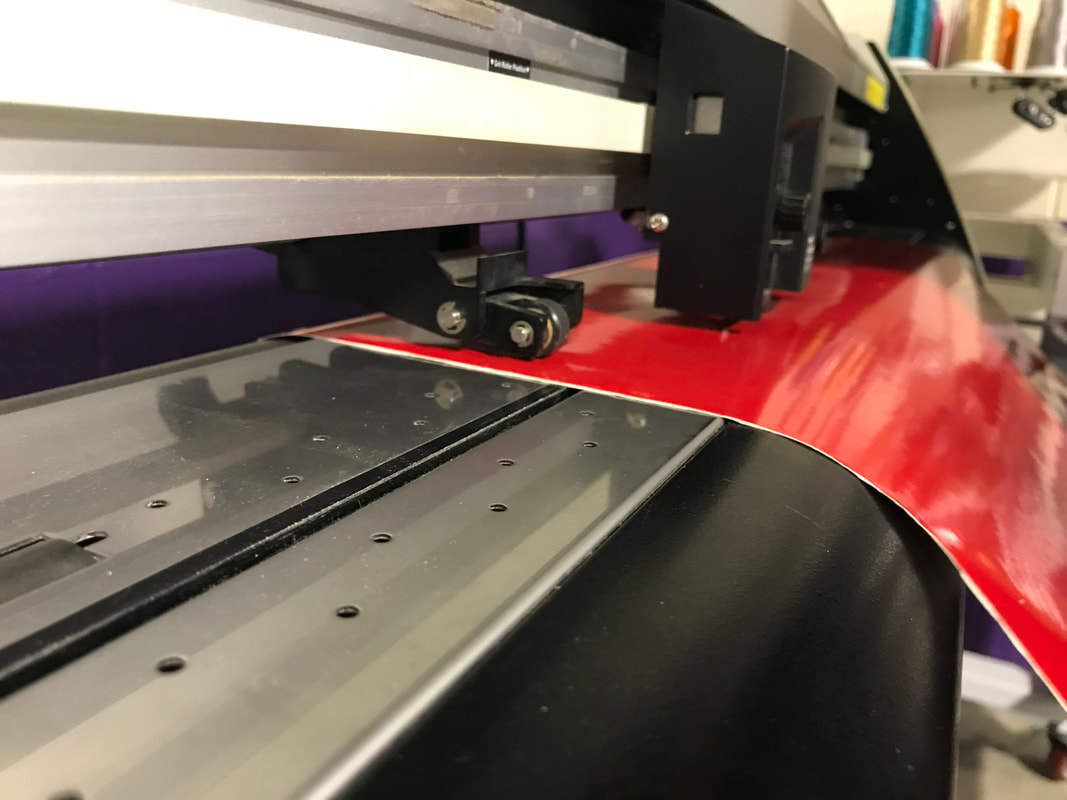
To get everyone's vinyls done we put multiple on the same page to print, and switched the vinyl color once everyone had gotten what they needed of that color. We were getting the vinyls done quickly and accurately until we came to the yellow. The yellow roll was half the width and we didn't really stop to think about the rollers clamping on it so we put it in one and began the print which consequently messed it up. We were then taught how to adjust the rollers so that the vinyl would be properly sat. After the vinyl was done printing we ran out of class time, but I had planned to update my website in the next class so I stayed for contact time to apply the decal. I had a small bubble from a defect on my binder but otherwise had no problems. Although when I took my binder out of my bag the next day there were 2 small tears in the vinyl.
My vinyl was finished.


What I Took Away From My Experience
I learned a lot more about the illustrator software than I did in the previous project because it was a much more complex image than my bulls logo. The bulls logo did not need to be multicolor so I found a black and white image online. This image required a lot more modification to be ready to cut out. I learned how to split an image based on color, which is helpful when cutting multicolored vinyls. I also learned how to not cut vinyls, which is probably a good thing. I've really just generally gotten better with using illustrator and the vinyl machine, although my application skills could use improvement.
